I love the current era of open-source video generation.

I love the current era of open-source video generation. Combining my five years of experience as a filmmaker with my daily work configuring high-performance Maven desktop workstations at ProX PC gives me a clear view of what actually works in practice. Having a virtual film studio right on your desk gives you total privacy and unlimited creative freedom. Today, turning your ideas into high-quality video clips is straightforward and accessible for anyone. Let us look at exactly how you can build this setup on your own computer.
Video generation requires immense computing power, relying heavily on your graphics card (GPU). Through rigorous testing of AI workloads, one fact remains constant: Video RAM (VRAM) dictates your capabilities. Let us break down the best options available right now, from accessible consumer cards to true professional powerhouse hardware.
The Baseline: The RTX 5070 (12GB) and RTX 5070 Ti (16GB) are great starting points. These cards provide comfortable breathing room to run optimized models smoothly at good resolutions.
The Consumer Sweet Spot: The RTX 5080 (16GB) stands as a powerful choice for serious creators. It handles heavy generation tasks quickly and efficiently while managing thermal output beautifully during long rendering sessions.
The Top-Tier Consumer Choice: The RTX 5090 features a massive 32GB of VRAM. This offers incredible headroom for complex, high-resolution videos. It represents the absolute pinnacle of consumer-grade hardware.
The True Professional Standard: If you want performance that surpasses the 5090, you must look at professional workstation GPUs like the RTX Pro 6000 With a staggering 96GB of VRAM and ECC memory for rock-solid stability, it is built specifically for heavy, continuous AI workloads. The 5090 is fantastic, but it shares its architecture with gaming needs. The Pro 6000 focuses entirely on compute power. When we build top-of-the-line Maven workstations for serious studios, this is the exact hardware we use to ensure the system handles massive local deployments and complex rendering without hesitation. (Read about RTX 5090 vs Pro 6000)
Always pair your GPU with at least 32GB of system RAM (64GB and more is better) and a fast NVMe M.2 SSD. These AI models are large files, and an NVMe drive ensures they load into your graphics card instantly, saving you minutes of waiting every time you switch tasks.
The open-source community releases amazing updates constantly. You have access to models that produce fantastic motion and visual fidelity right out of the box.
LTX Video (LTX 2.3 and newer): This model remains my favorite for local setups. It generates high-quality, smooth video while remaining remarkably efficient. It runs beautifully on consumer hardware like the 5070 Ti and 5080.
CogVideoX: This model excels at following highly complex text prompts. The larger versions require immense VRAM, making them perfect candidates for the RTX 5090 or the Pro 6000, yielding highly detailed results with accurate motion.
HunyuanVideo: A very powerful model that creates incredibly realistic footage. It requires a high-end GPU, rewarding you with exceptional output quality.
We will use an application called Pinokio. Pinokio acts as a virtual computer that installs AI tools with a single click, handling all the technical setup for you behind the scenes.
Step 1: Install Pinokio Navigate to the official Pinokio website. Download the installer for Windows or Linux. Run the installer and follow the standard on-screen prompts.
Step 2: Find Your Video Workflow Open the Pinokio application. Click on the Discover tab. Type "LTX Video" or "ComfyUI" into the search bar. ComfyUI is a visual interface where many of these video models live, and Pinokio offers pre-packaged installers with the models already configured. Click Download on your chosen package.
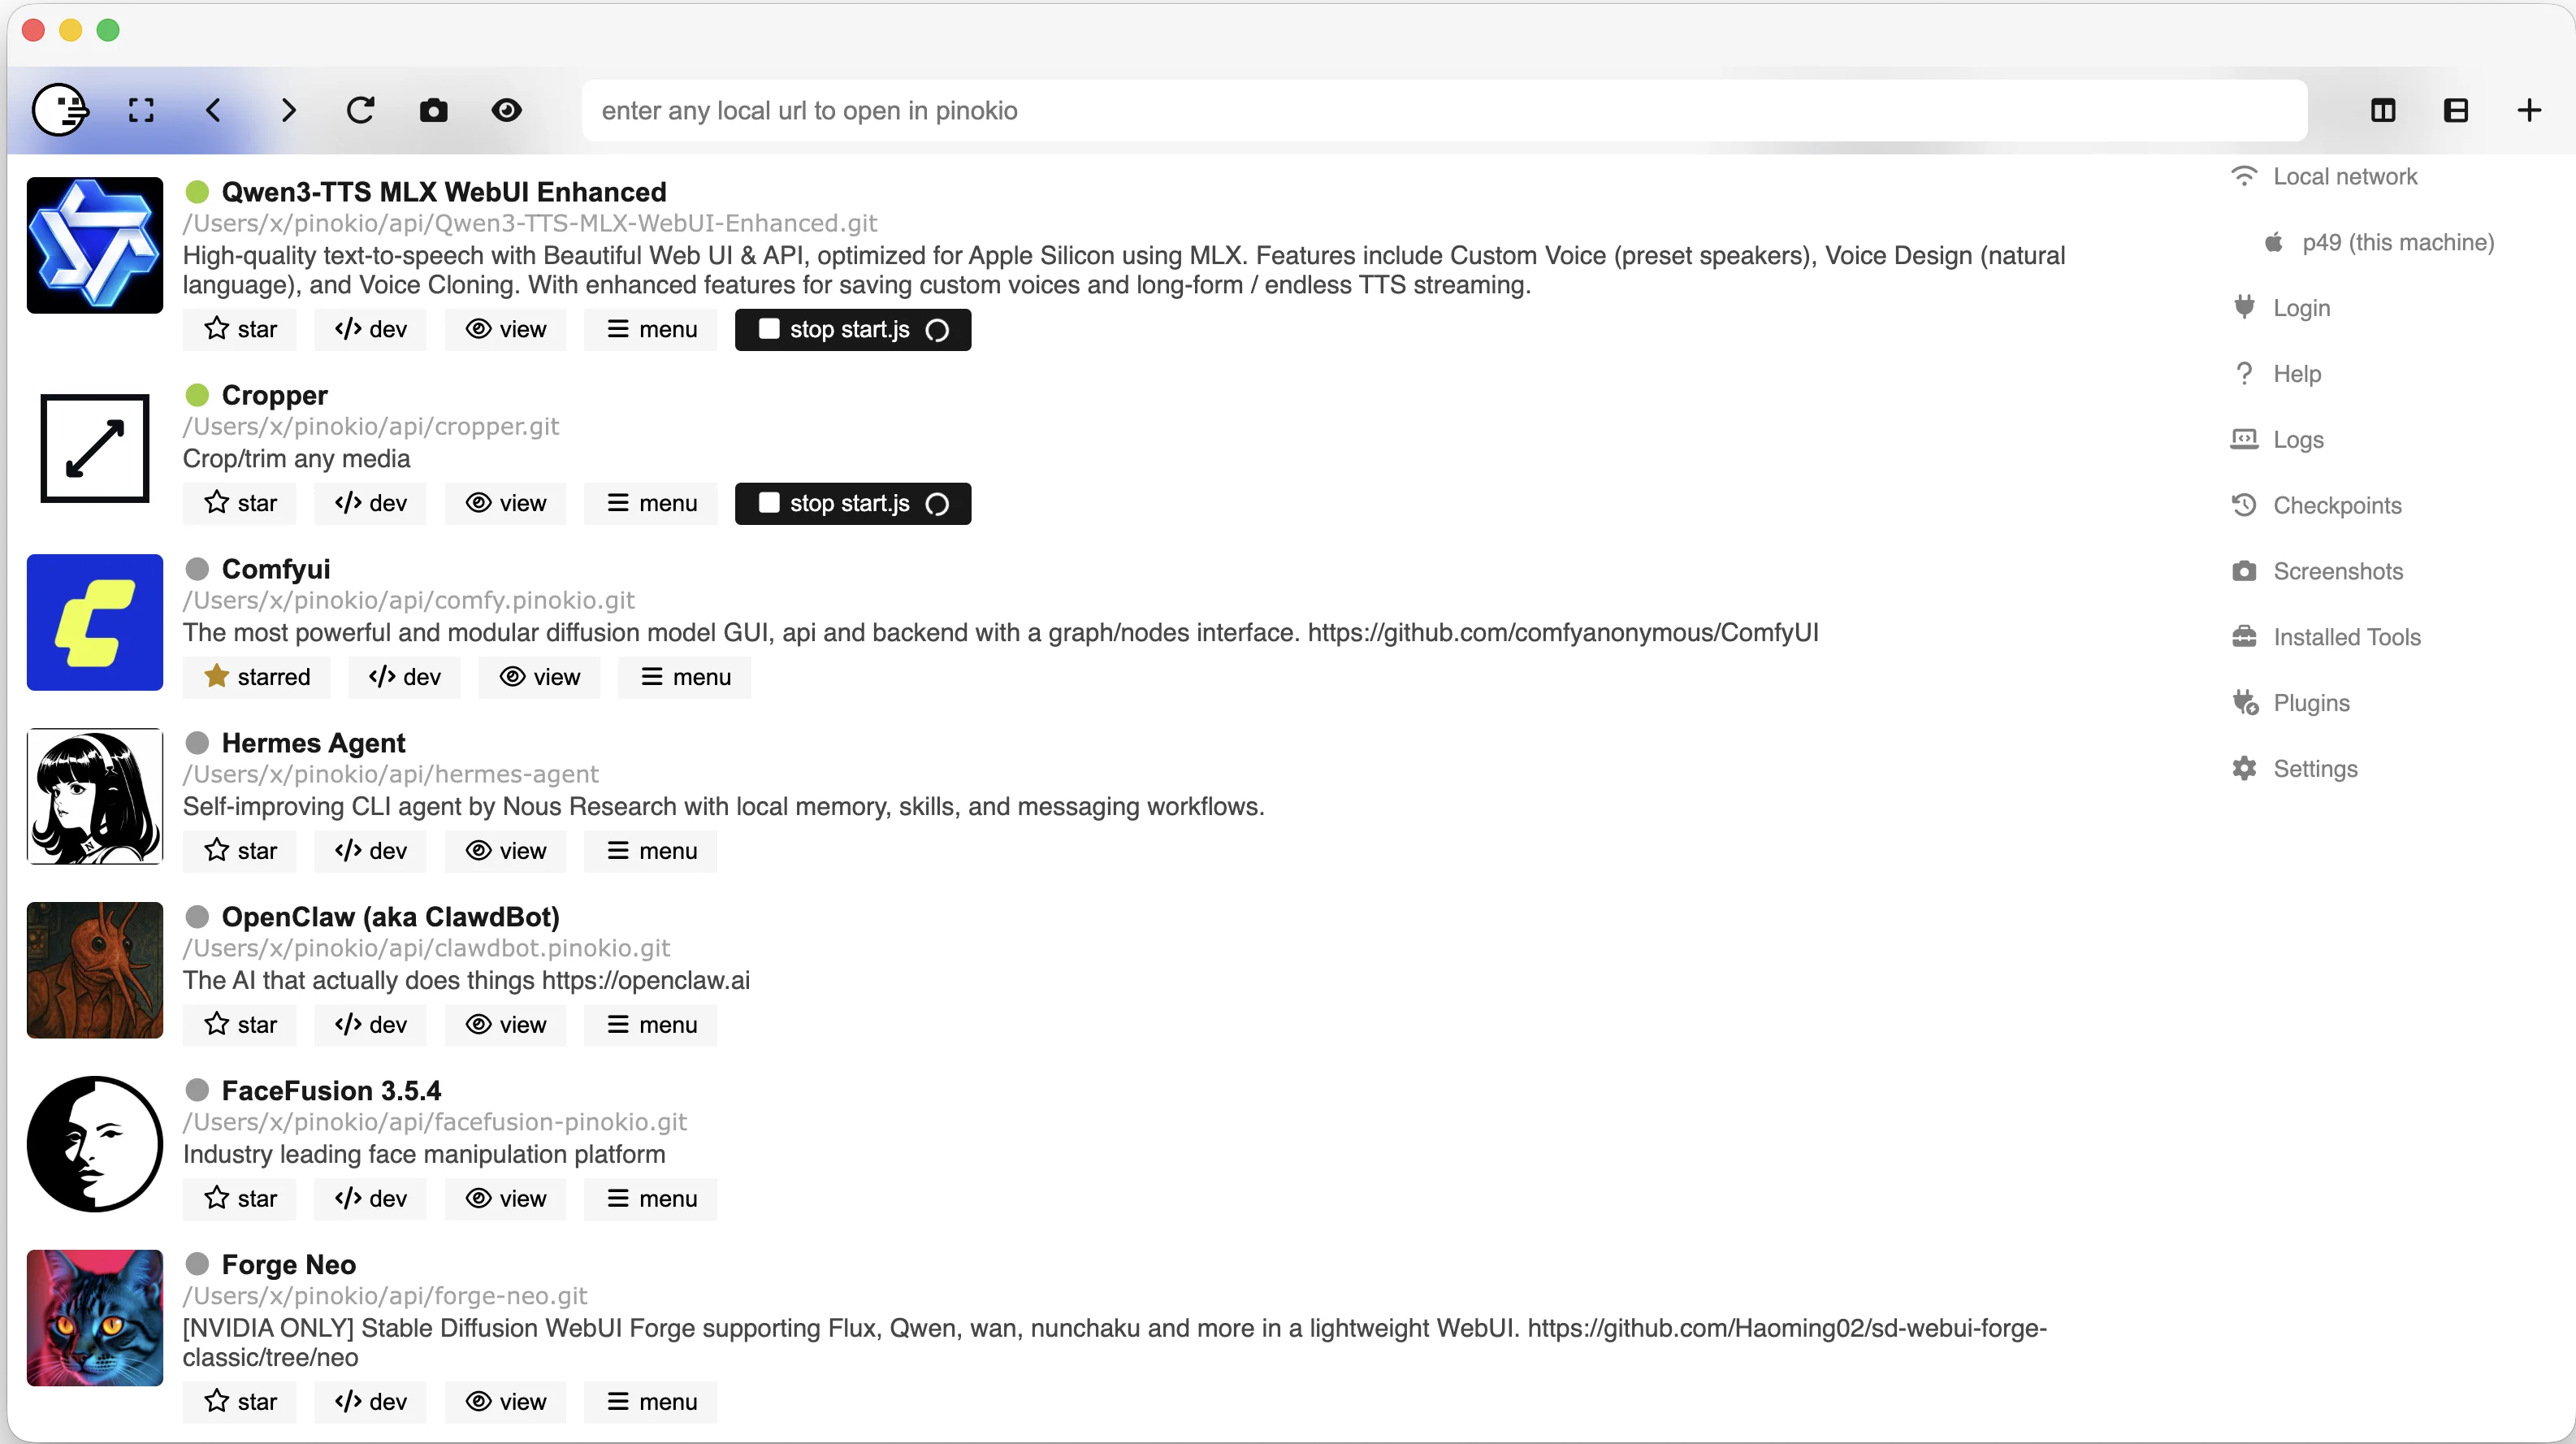
Step 3: Let the System Build Pinokio will open a terminal window and begin downloading all the necessary environments, dependencies, and model files. Allow the system a few minutes to download the files completely.
Step 4: Launch and Create Once the installation finishes, Pinokio will display a Launch button. Click it. A web browser window will open containing your user interface. Type your vision into the prompt box. Give descriptive details about the camera movement, lighting, and your main subject. Hit Generate. Your GPU will spin up, and within minutes, you will have a locally rendered video saved directly to your drive.
Building your own local AI workflow is a highly rewarding experience. As you test these tools, keep an eye on your GPU temperatures and VRAM usage. Understanding how your hardware responds helps you master the technology and optimize your creative process.
If you are looking for a powerful workstation then Configure it now.
Resources you may find helpful.

AI is revolutionizing the hardware industry by boosting design, manufacturing, maintenance, supply chains, personalization, autonomy, security, and energy efficiency.
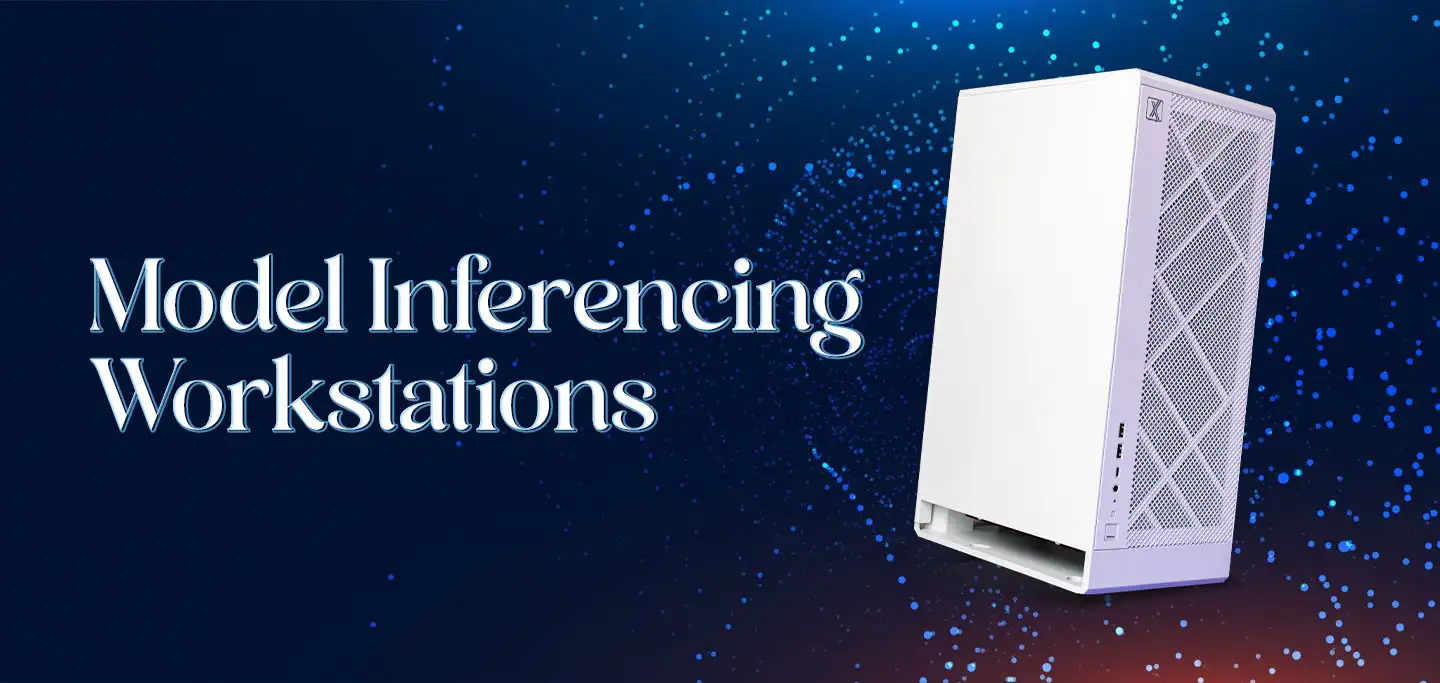
Discover model-inferencing workstations: advanced AI systems revolutionizing industries from retail to smart cities and mastering complex tasks with cutting-edge technology.
Explore how hybrid systems revolutionize transportation, energy, manufacturing, and daily life by integrating diverse technologies for innovative solutions.

Delve into Edge AI's impact on latency, privacy, and autonomy. Uncover its applications in healthcare, manufacturing, retail, and security.

