Learn how to set up the NVIDIA® Jetson Orin™ Nano and build your first AI project with this comprehensive guide, perfect for beginners and aspiring AI developers.

Artificial Intelligence (AI) is transforming various industries. From healthcare to automotive, AI applications are everywhere. If you're new to AI, starting with a project can seem daunting. However, with the right tools, you can build a successful AI project. One such tool is the NVIDIA® Jetson Orin™ Nano. This blog will guide you through building your first AI project with the Jetson Orin Nano.
What is the NVIDIA® Jetson Orin™ Nano?
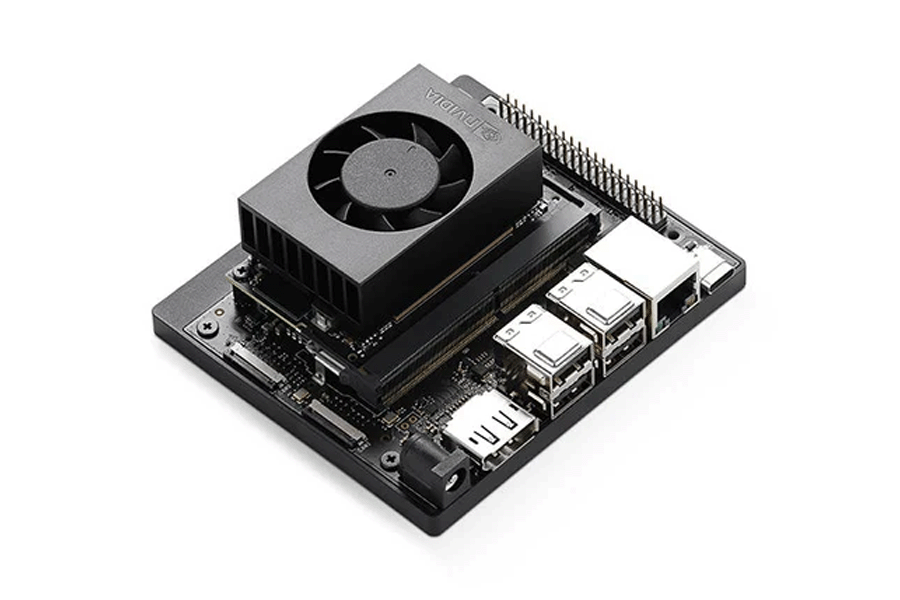
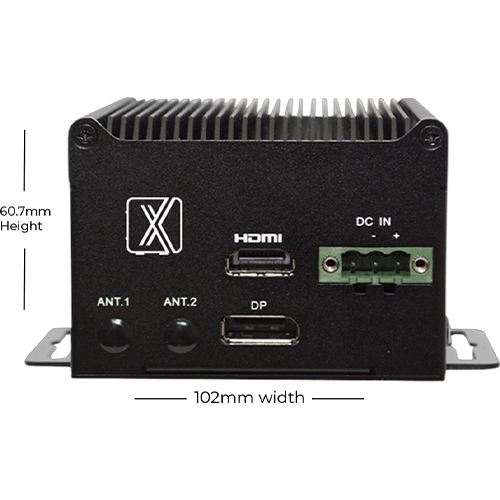
NVIDIA® Jetson Orin™ Nano
The NVIDIA® Jetson Orin™ Nano is a compact, powerful AI computing device. It is designed for embedded and edge applications. Despite its small size, it offers impressive computing power. This makes it an excellent choice for AI projects.
Key Features
Setting Up Your Jetson Orin Nano
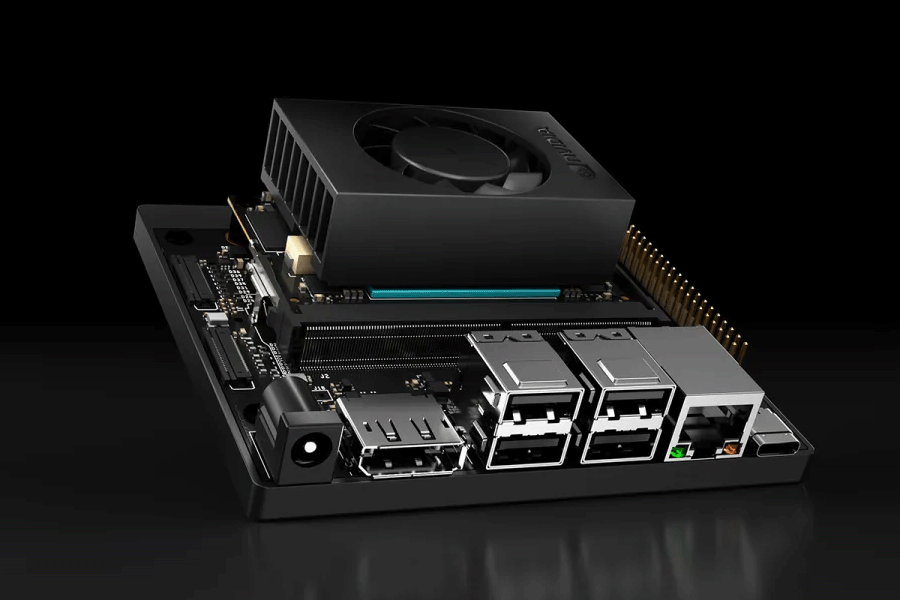
Setting Up
Before you start your AI project, you need to set up your Jetson Orin Nano. Here are the steps:
Step 1: Unbox Your Jetson Orin Nano
Carefully unbox your Jetson Orin Nano. Inside, you'll find the Nano module, a power adapter, and a quick start guide.
Step 2: Install the Jetson Orin Nano
Connect the Nano module to a power source using the provided adapter. Connect a monitor, keyboard, and mouse to the module.
Step 3: Flash the OS
Download the latest JetPack SDK from the NVIDIA website. Flash the JetPack OS onto an SD card. Insert the SD card into the Nano module and power it on. Follow the on-screen instructions to complete the setup.
Step 4: Install Development Tools
Once the OS is installed, open the terminal. Update the package list using the command:
|
bash sudo apt-get update |
Install necessary development tools:
|
bash sudo apt-get install build-essential cmake git |
Step 5: Set Up Python Environment
Python is widely used in AI development. Install Python and pip:
|
bash sudo apt-get install python3 python3-pip |
Create a virtual environment for your project:
|
bash python3 -m venv myenv |
Choosing an AI Project

AI Project
Choosing the right project is crucial for beginners. Start with a simple project to build your confidence. Here are some ideas:
For this blog, we will focus on an object detection project.
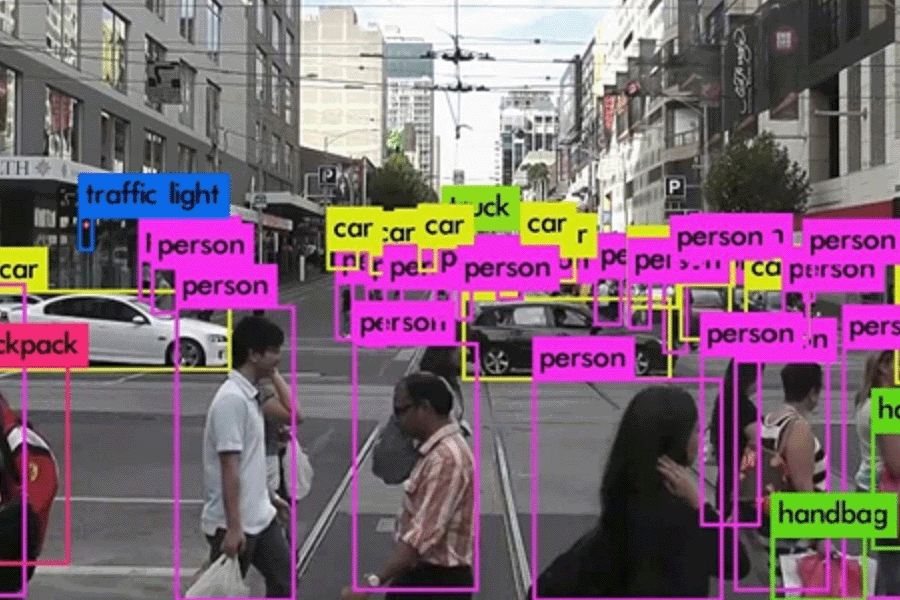
Building an Object Detection Project
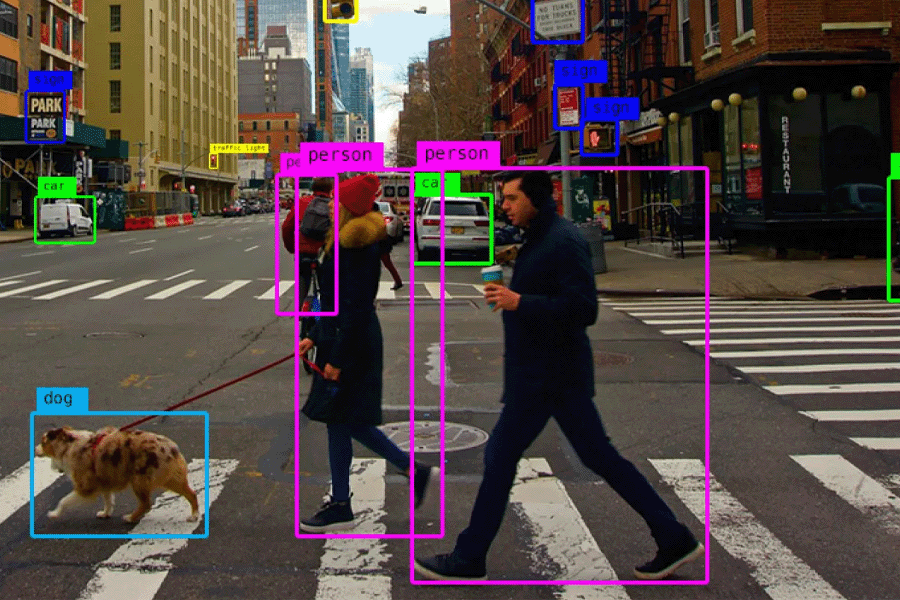
Object Detection
Object detection involves identifying and locating objects within an image or video. We'll use a pre-trained model to simplify the process.
Step 1: Install Required Libraries
Activate your virtual environment and install the required libraries:
| bash pip install numpy opencv-python torch torchvision |
Step 2: Download a Pre-trained Model
We'll use a pre-trained YOLO (You Only Look Once) model. Download the model weights and configuration files from the official YOLO website.
Step 3: Write the Detection Script
Create a new Python file, object_detection.py. Import the necessary libraries:
| python import cv2 import torch |
Load the pre-trained YOLO model:
| python model = torch.hub.load('ultralytics/yolov5', 'yolov5s') |
Write a function to perform object detection on an image:
|
python
|
Step 4: Test Your Script
Save an image to your project directory. Run your script with the image path as an argument:
| bash python object_detection.py --image-path sample.jpg |
The script will display the image with detected objects highlighted.
Enhancing Your Project
Once you have a basic object detection project, you can enhance it with additional features.
Real-Time Detection
Real-Time Detection
Modify your script to process video streams for real-time object detection:
|
python
|
Adding a GUI
Adding a GUI
Create a simple graphical user interface (GUI) using the Tkinter library:
|
python
def open_file(): root = tk.Tk() |
Deploying Your Project

Deploying Your Project
Once your project is ready, you can deploy it on various platforms. The Jetson Orin Nano supports edge deployment, making it ideal for applications like security systems, robots, and drones.
Optimizing for Edge Deployment
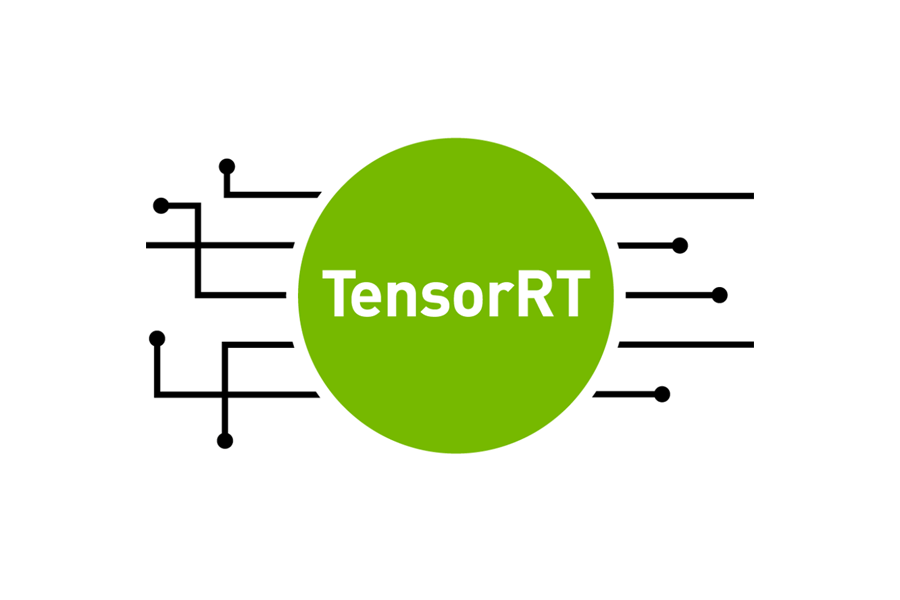
To optimize your model for edge deployment, use NVIDIA TensorRT. TensorRT is a high-performance deep learning inference library. It helps reduce latency and improve throughput.
Step 1: Install TensorRT
Install TensorRT using the following command:
| bash sudo apt-get install nvidia-tensorrt |
Step 2: Convert Your Model
Convert your YOLO model to a TensorRT engine:
|
python def build_engine(model_path): |
Step 3: Run Inference with TensorRT
Use the TensorRT engine for inference:
| python def infer_with_tensorrt(engine, image_path): img = cv2.imread(image_path) # Prepare image for inference # Run inference # Process and display results |
Conclusion
Building your first AI project with the NVIDIA® Jetson Orin™ Nano is an exciting journey. This powerful device offers the performance and flexibility needed for a wide range of AI applications. By following this guide, you can set up your Jetson Orin Nano, choose a project, and build a working AI application. With practice, you'll gain the skills to tackle more complex AI challenges.
For more info visit: www.proxpc.com
Edge Computing Products
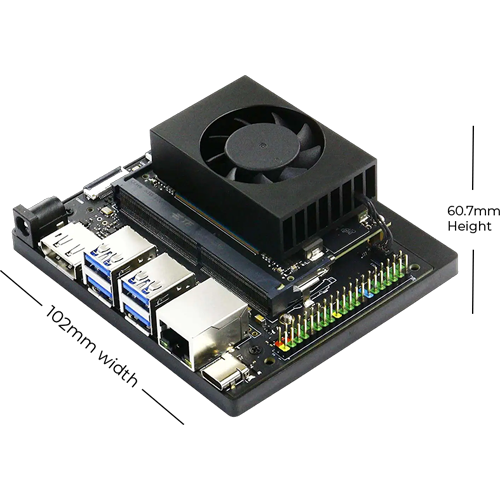
ProX Micro Edge Orin Developer Kit
Learn More
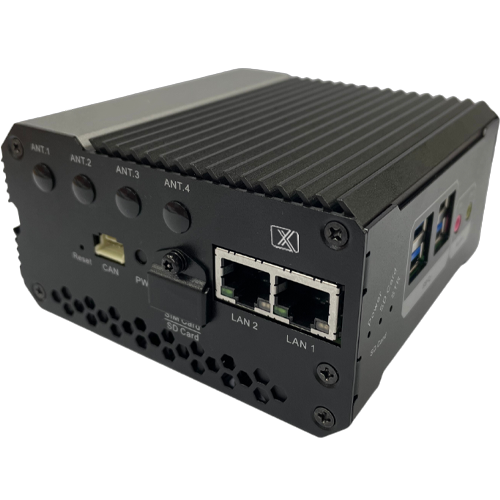
ProX Micro Edge Orin NX
Learn More
ProX Micro Edge Orin Nano
Learn More
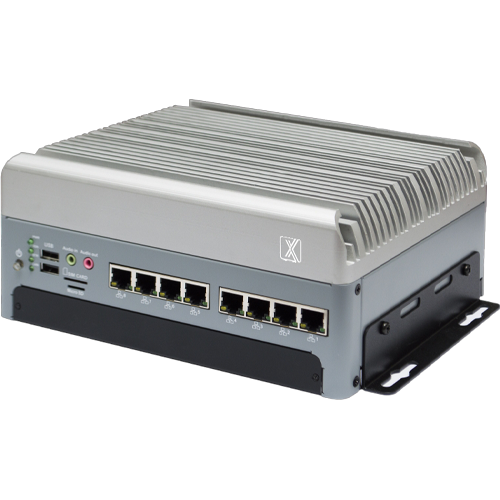
ProX Micro Edge AGX Orin
Resources you may find helpful.

Harness the power of GPU servers to revolutionize business operations with unparalleled performance in AI, data analysis, and rendering tasks.
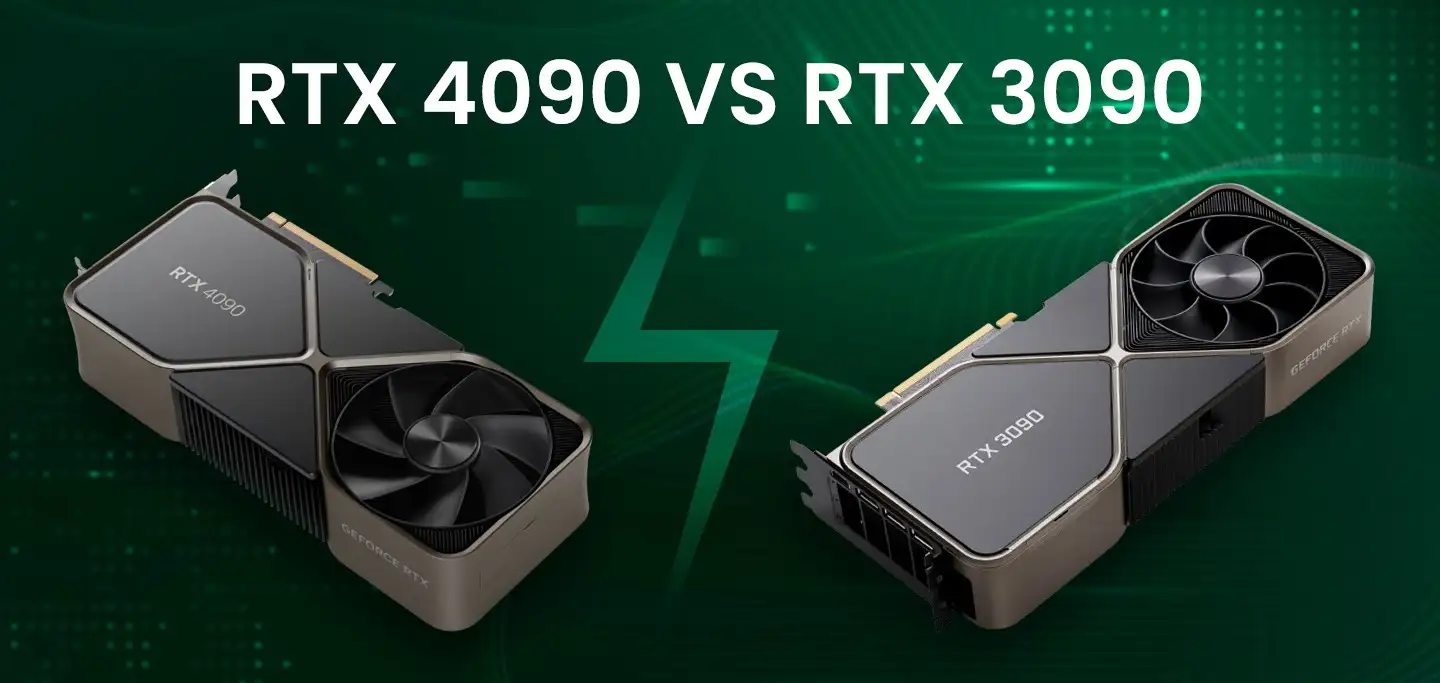
The power of NVIDIA® GeForce RTX 4090: Redefining deep learning benchmarks, exceeding expectations set by the RTX 3090
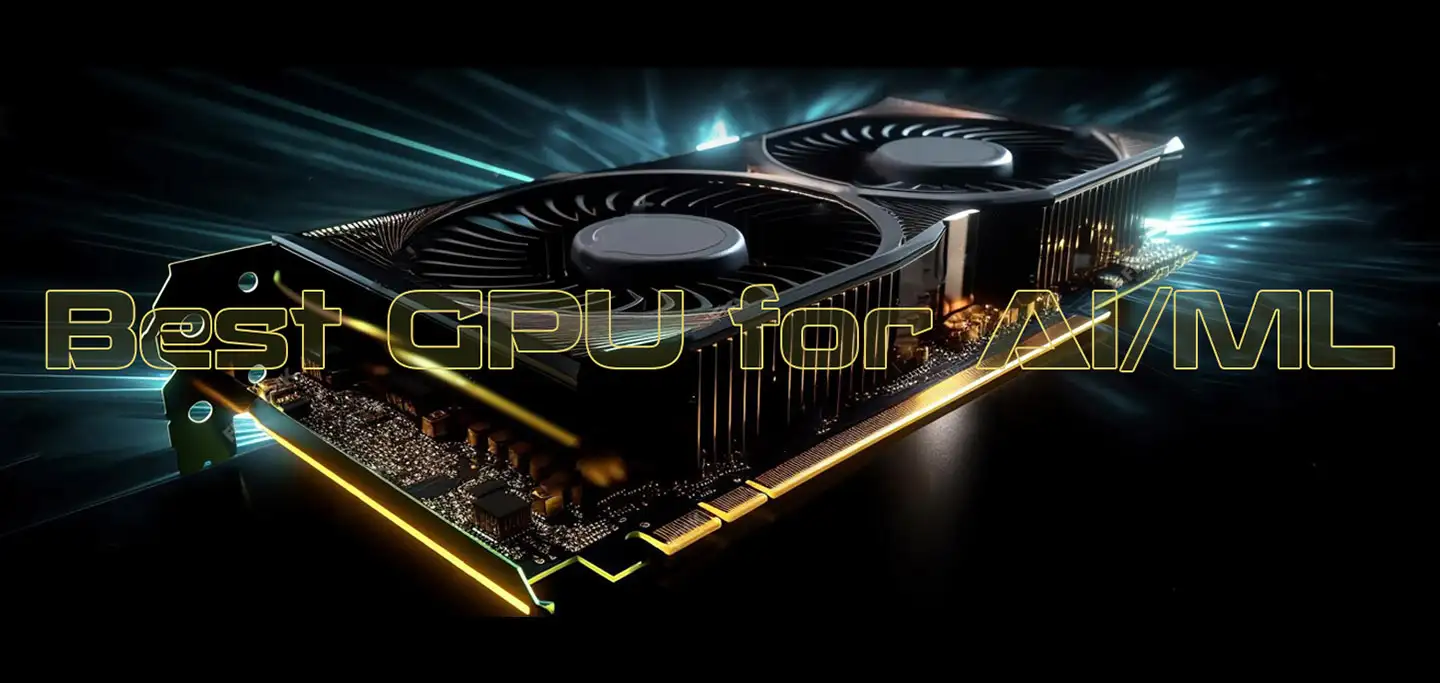
Best GPUs for AI and deep learning in 2024: NVIDIA's RTX 4090, A6000, A100, and more, benchmarked for performance and efficiency

Keep your computer running smoothly with these 10 essential tips. From regular backups to cleaning dust and updating software, ensure optimal performance and longevity.
